
“Something old, something new, something borrowed, something blue”
A dear friend is getting married and her sister has asked me to make her some wedding day Knickers. So combine some tradition and a gift,
I have some beautiful pale blue silk…. Perfect!
I developed this pattern a while ago and it has been trusted and well used over the years, much to my friends delight of getting custom made knickers for a present.
Off we go!!!
Construction
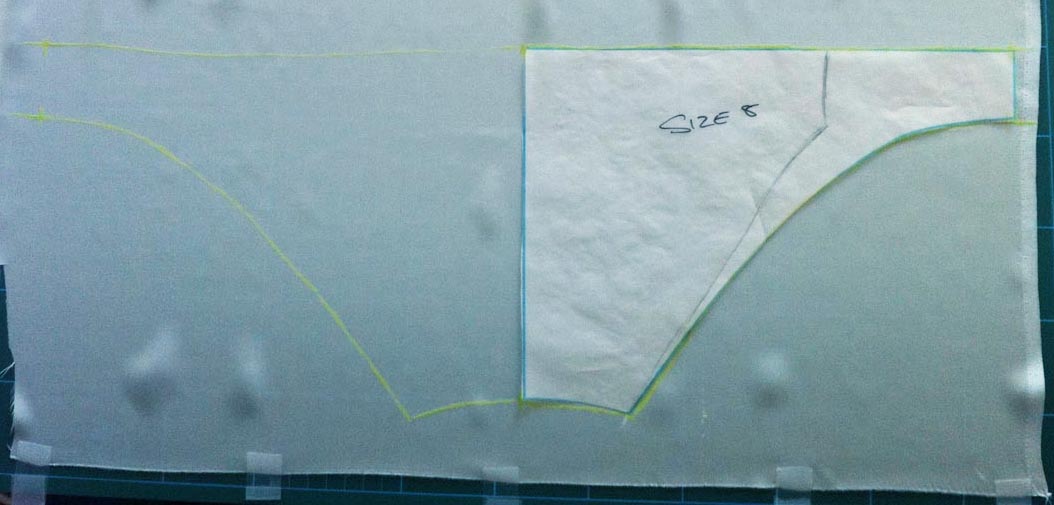
1: Using a chalk pencil I draw around the template pattern on the right side,
making sure I mark the centre mark where the gusset joins.
I also extend the sides but again making sure you mark where the finished seam will go.
Taping down the silk to the cutting matt also helps keep the fabric straight.
2: All pieces cut out Front, Back and Gusset in the Silk and then 1 x Gusset in Cotton.
When I developed this pattern, I brought this brilliant pattern from Esty
https://www.etsy.com/transaction/12733998 Please take a look…
Not only was this a great help but it gave me the idea to cut up a T-shirt to use the fabric for the Gusset. At the time I was struggling to find the correct thing to use,
also T-shirts are available in so many colours.

3: Now here comes the hard bit… This still baffles me so I take great care.
Matching up the centre markings, I put the silk back and gusset right sides together.
4: Then on the back I add the cotton gusset, pinning these three parts together.
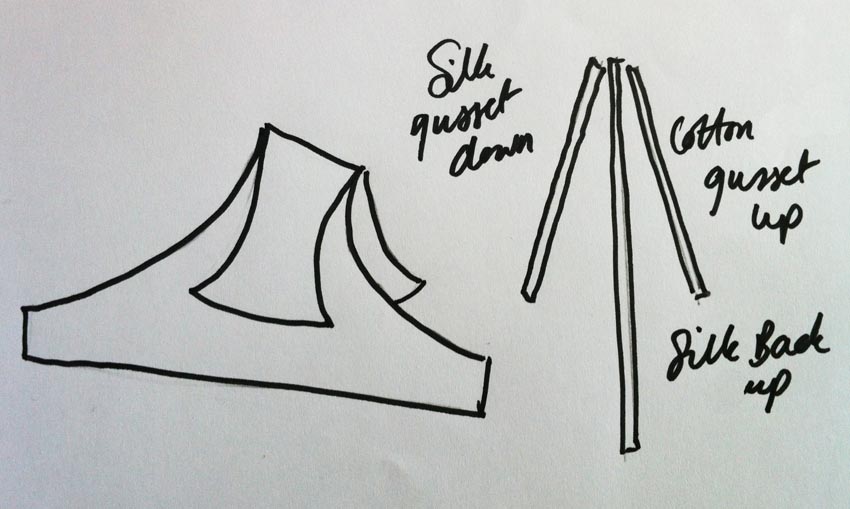
Basically the three layers should be:
- Cotton gusset right side up.
- Back silk section right side up.
- Gusset silk right side down.
This might help!
5: Sew together.

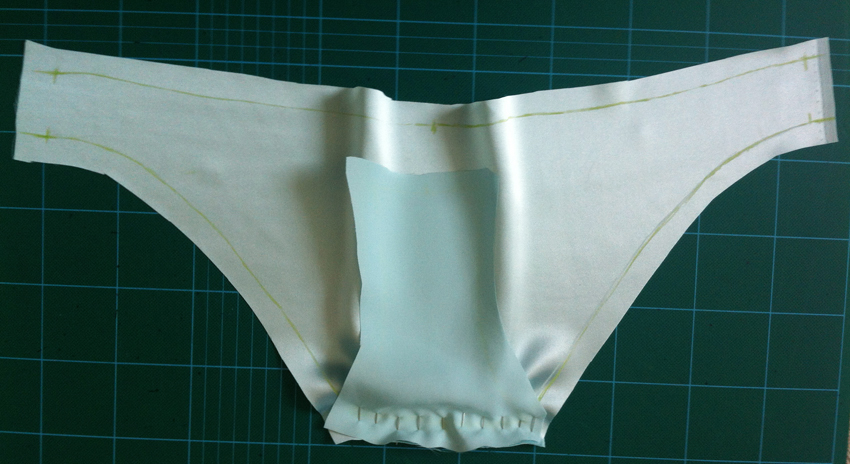
6: Next, fold back the cotton gusset and roll the back section inwards, with the silk gusset down as shown below.
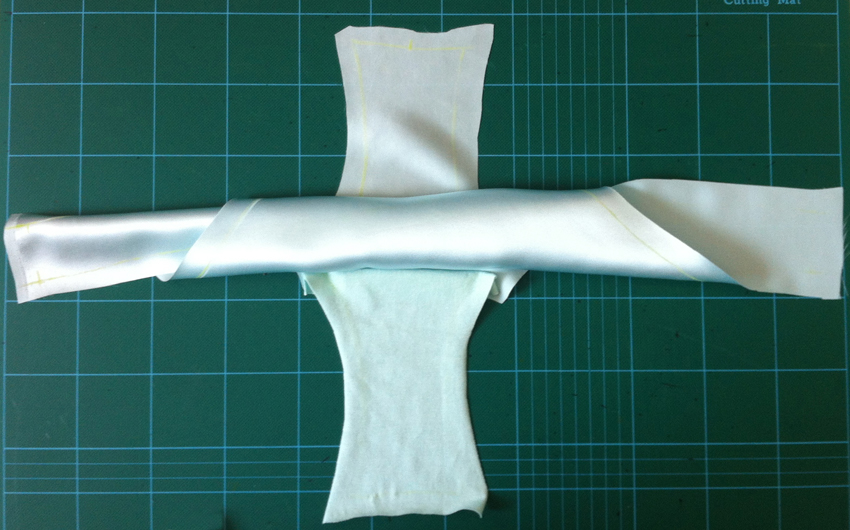
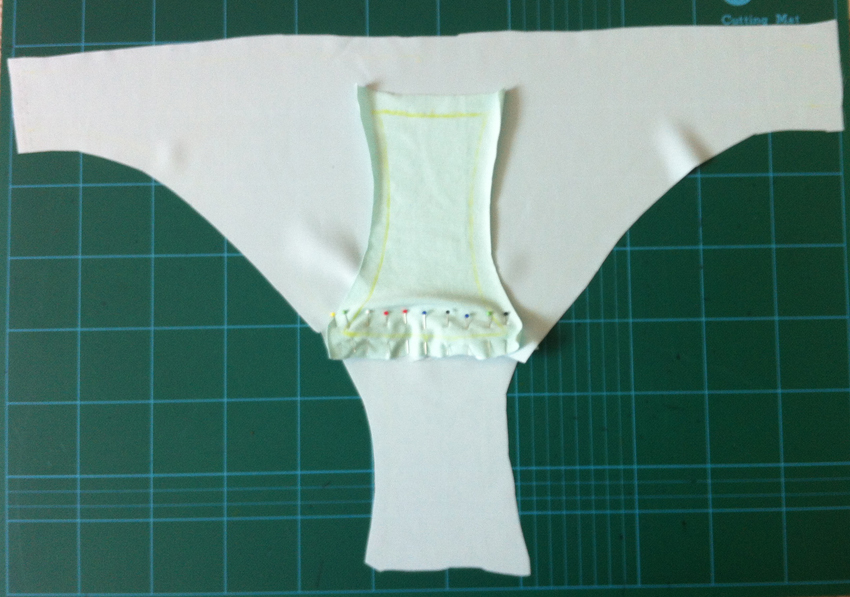
7: Lay the front section onto the silk gusset.

8: Rollover the front section as shown, fold back the cotton gusset, pin then stitch. Be careful not to pin the top of the front.

9: If all has gone to plan when you turn this inside out, the seams are all in the inside.

10: I set up the over-locker for a three thread rolled edge hem, then over-lock on the chalk line.
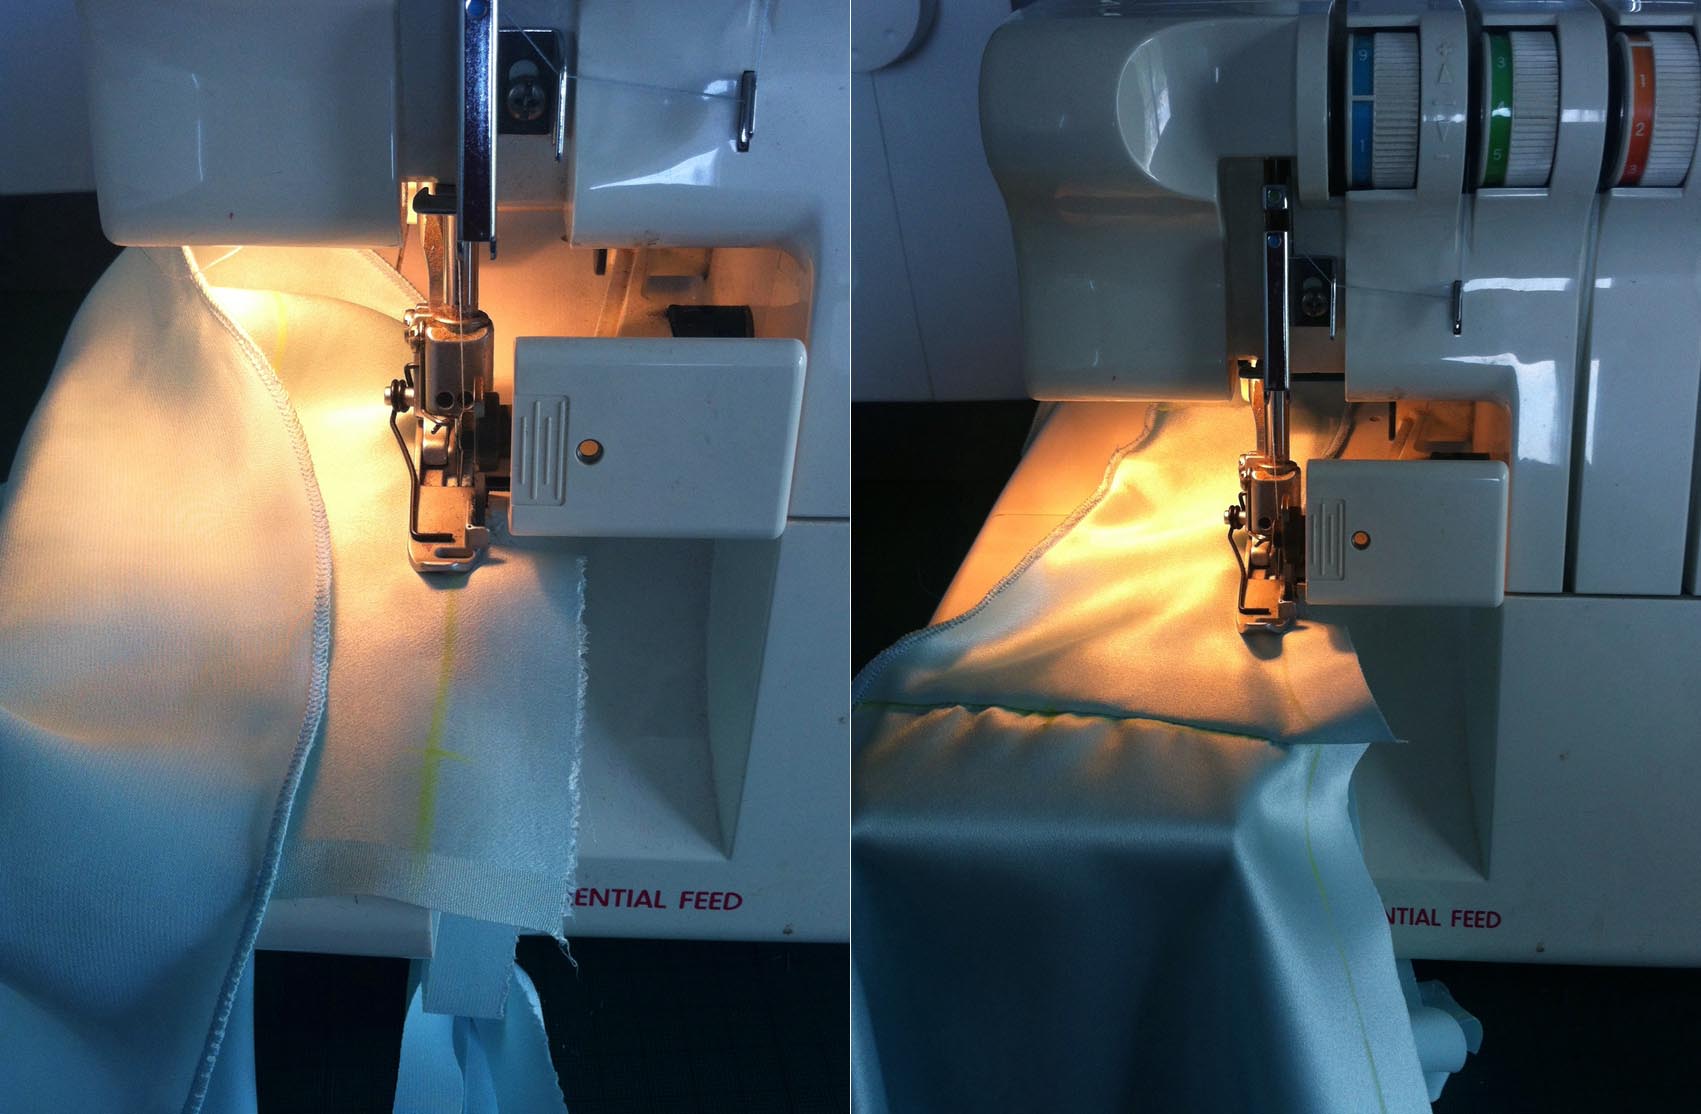
This is what you end up with 😀

11: Now for the sides… This also adds the elastic at the same time.
Add the two Leg elastic pieces on the bottom and the Top as shown, then over-lock in place.
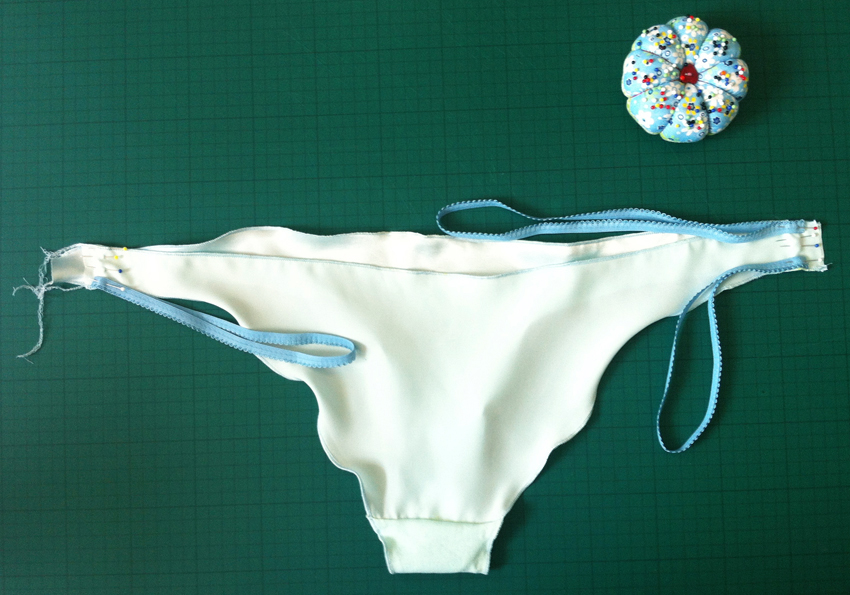
12: Tie off the overlocked treads. Fold back the seam and top-stitch as shown.


13: Next for the Elastic. This technique is called “Divide and Conquer”
Basically you fold half-ways and pin on the fold, again fold half-ways and pin,
8 should be enough. This is needed on both the elastic and the Leg.
I found when making these its easier to do the two Legs first and then the Waist.
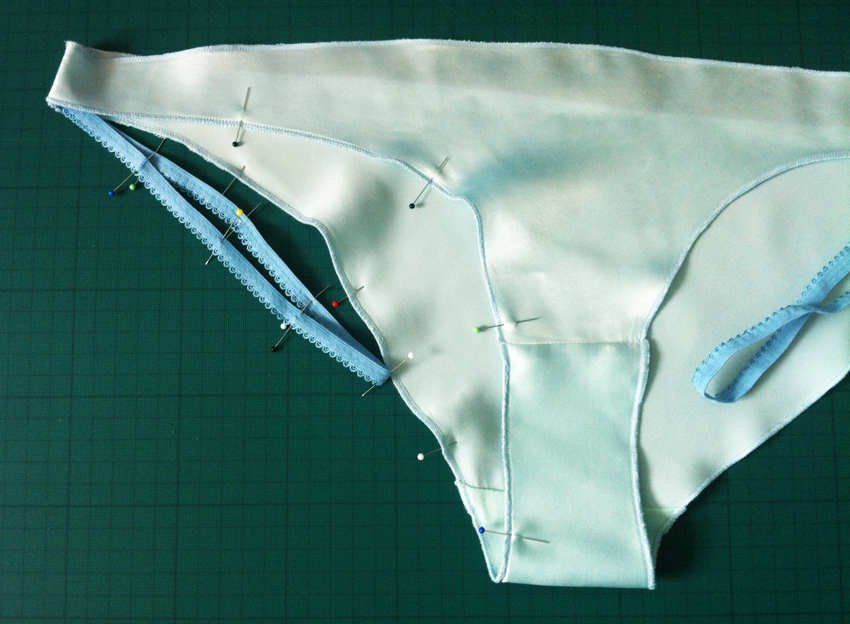
14: Then you match the relating pins and join together, as shown.
Try to get the pin centrally in the elastic as this will help the next stage.

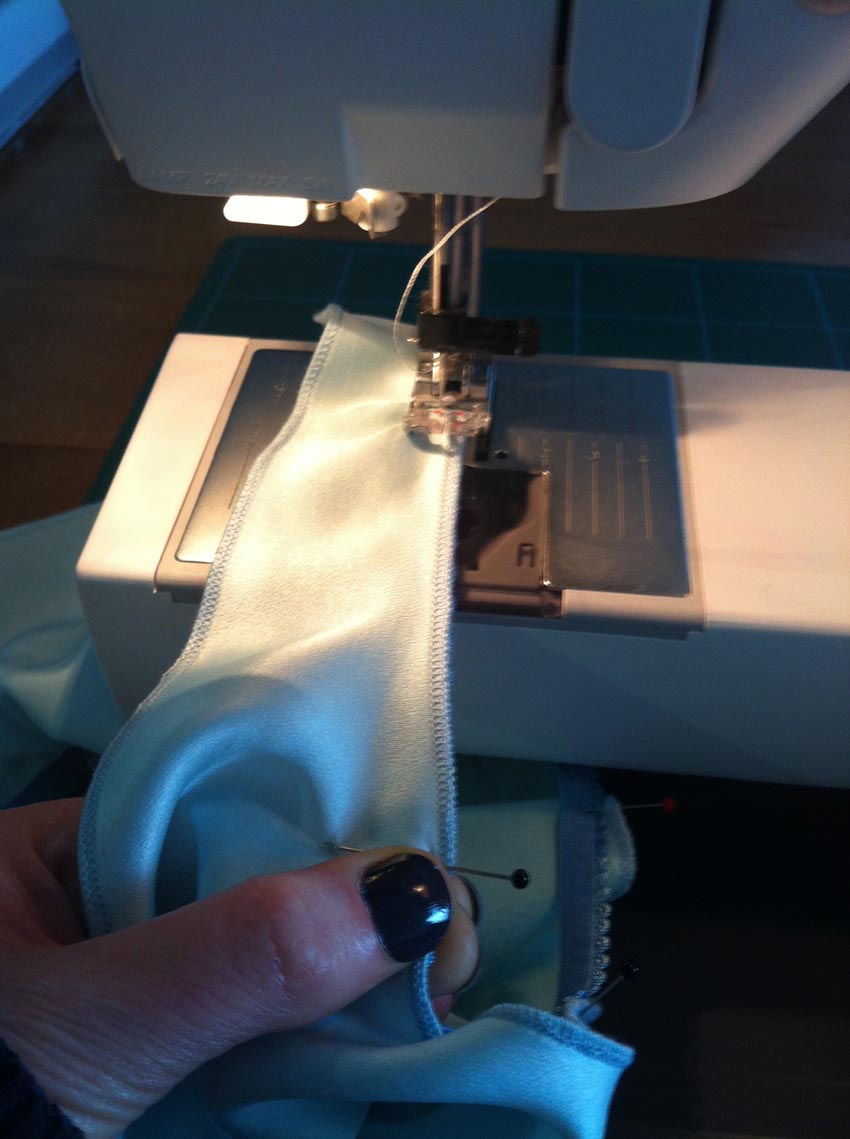
15: Set a small Zig Zag stitch on your sewing machine, making sure its narrower then the elastic.
Its best to start at the side seam where the elastic is sewn in.
Sew a couple of stitches to start and secure, then holding and slightly pulling back and front, hold at the pin, stretch the elastic till its the flat wilt the fabric. Sew slowly to just over the pin, stop! Then repeat again… Carry on pin to pin until all the way around.
16: One leg finished do the same on the next.

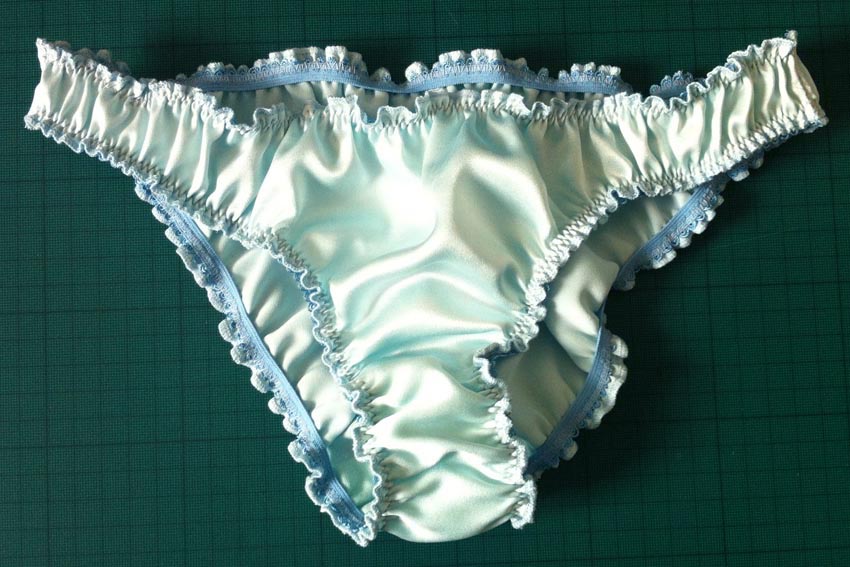
17: Then the Waist and then you are finished!!!
I did find that I needed to add another divide pin on the waist at the side next to the seams,
this part was too long and was a little difficult to stretch.
This silk though pricey it so worth using. Very happy with these and I hope Rebecca will be too.

You must be logged in to post a comment.